Showing posts with label bread. Show all posts

Wednesday, August 10, 2011

Banana Muffins


It seems like my kids go in phases with their banana eating. I've got 1 that never likes them, 1 that always loves them and 2 that are wishy washy. We're kind of in the lull part of their swinging banana preferences, I guess, because the last few times I've brought bananas home from the grocery store they've turned up with brown spots before anyone got around to finishing them off. That's OK, though - it means Mama gets banana bread! This time I decided to go with muffins, instead of just straight bread. And this recipe is a smidge different than my standard one because it's got the addition of some cinnamon & nutmeg in the batter for a little extra YUM!

Your ingredients for this one:
(sorry, no photo today)

1.) Flour, baking soda, baking powder, salt, cinnamon, nutmeg.
2.) Bananas, sugar, vanilla, egg, canola (or veg) oil.

First you mix your dry (except for the sugar) in one bowl...


Mix your wet (plus the sugar) in another bowl...


Then combine the two.


Pout the batter into baking cups & cook at 375 for 18-20 minutes.


Tada!! That's it! If you'd like to dress them a little more than that you can mix up the crumb topping on this banana bread recipe & add it to the tops of each muffin before baking. YUM!!!

The addition of the cinnamon & nutmeg add another layer of warmth & cozy to these muffins. Give it a try!!

Enjoy!

Banana Muffins:

1 1/2 cups flour
1 tsp baking soda
1 tsp baking powder
1/2 tsp salt
1 tsp cinnamon
1/2 tsp nutmeg
3 bananas, mashed
3/4 cups white sugar
1 tsp vanilla
1 egg, lightly beaten
1/3 cup canola or veg oil

Preheat oven to 375.

In one bowl, mix flour, soda, powder, salt, cinnamon & nutmeg. In another bowl combine sugar, bananas, vanilla, egg & oil. Add dry ingredients into wet mixture; stir until combined.

Pour batter into muffin tins lined with baking cups. Bake for 18-20 minutes.


Thursday, June 2, 2011

Strawberry [freezer] Jam


Jam is another one of those things that I make a jumbo batch of once a year & then keep in the freezer so I always have good, homemade, preservative free stuff on hand. I used to be intimidated by the thought of making jam but then I discovered the beauty (and deliciousness!!) that is freezer jam! There are several different fruits that would make good jam but our personal favorite is strawberry. And, as a bonus, I can get a huge bag of frozen, hulled, always perfectly ripe bag of strawberries at Costco for a really great price (6 pounds for $9 - that's $1.50/pound!). Just make sure you thaw them first!

Here's all you need:


Fruit, sugar & pectin. Isn't that such a perfect, simple list!? You know what's in this jam - and none of it is scary! LOL

This is the pectin I use for this jam. It's instant - or labeled as freezer jam pectin.


If you use frozen fruit just be sure it's thawed before you start. Just mash away at it with a potato masher until a bowl of this...


... becomes a bowl of this! A few remaining chunks are not a big deal - just try to get most of it mashed up really well.


Once that is all good & soupy stir together your sugar & pectin.


Then dump the mixture into your crushed fruit & stir it well - for about 2 minutes.


Transfer that into your mason jars. A single batch will fill 3 pint (16oz) jars. Of course I did this one times 5 so I ended up with 15 jars of the good stuff! It's not all for us, though - I love giving a jar of this jam with a loaf of fresh baked French bread to the teachers as a gift - either for Christmas or, like I'm doing this year, for an end-of-the-year treat.


Once it's in the jars let it sit out on the counter for 30 minutes to set up.
It will keep in the fridge for about a month or in the freezer for a full year.


I love this on fresh bread, toast, even spooned over vanilla ice cream! It's really yummy.


Strawberry [freezer] Jam:

4 cups crushed fruit
1 pkt. Instant pectin
1 1/2 cups sugar

Combine sugar & pectin. Stir into the crushed fruit. Mix thoroughly; about 2 minutes. Pour into jars & allow to sit on the counter for 30 minutes.

Store in the fridge up to a month or in the freezer up to a year.

Sunday, April 24, 2011

Fresh Baked Rolls... kinda!


Looks good, right? Smells good, too! I love good, warm, homemade, fresh-from-the-oven rolls. But honestly, when I'm cooking up a big meal full of other homemade stuff, the rolls are just one more thing that I don't have the energy to fuss with. So I cheat! How do I make my rolls?


Rhodes does it for me! These come in a bag - I get the 36-roll size, and it's just full of frozen balls of dough! They are cheap (like $3 for this bag!) & easy & so, so, so good! Just plan ahead... you need 3-5 hours for them to rise from the frozen state.

Just spray your pan with PAM, lay down the frozen balls & cover with plastic wrap that has also been sprayed with PAM (on the side that will touch the rolls).


The let them rise in your favorite warm spot. As you may remember, my spot is in the microwave above the oven - with the under-light on. It brings in just enough heat to get a great rise!


After about 4 hours:


Then take off the plastic, pop them in a 350 oven for about 15 minutes.


Helloooooooooooooooo gorgeous!!

As soon as they come out of the oven I rub the tops with a stick of butter.

They are so soft, fluffy, sweet & wonderful. If ever I'm going to a party & I'm assigned to bring the rolls I might bust out the effort to go scratch. But when it's just us at home!!? Rhodes does it for me.


Happy eating!


Sunday, March 6, 2011

Garlic Cheddar Biscuits - like Red Lobster's

I've never been to Red Lobster. And, honestly, I don't think I will ever go. Nothing against them - I just hate, hate, hate seafood & even though I know they have more than ocean life to offer, I just can't bear to go to a place with a name that shouts *smelly fish* to me (I know, I know - issues! We've disovered them before - I am full of them - you will find more as you get to know me better!) However, I have this biscuit recipe. And nearly every one I have shared them with has told me they taste just like the Cheddar Bay Biscuits from Red Lobster. So, if you DO like the house of crustaceans, you'll definitely love these biscuits - and if, like me, you don't - fear not, you'll love 'em, too!!

Here's what you'll need:


Flour, baking powder, salt, butter, milk, shredded cheddar, garlic powder.


In a bowl, sift together the flour, salt & baking powder.


Now cut in your softened (NOT melted!) butter. this is easiest with a pastry blender, but if you don't have one you can make it work with 2 butter knives. (It's just kinda miserable!)


Go to town on it, mashing & combining until you have a bowl of coarse crumbs.


From here you're gonna make a well in the center of the dry ingredients. Fill it with your cheese & then pour your milk into the center of it, too.


Now mix, mix, mix until it's all incorporated well. Drop by generously heaped tablespoons onto a cookie sheet. You're only aiming to get 12 out of this so don't be shy!


Bake at 450 for 12-15 minutes.


While they are baking melt 1/4 cup of butter & stir in your garlic powder. Brush it generously over the tops of the biscuits when they are fresh out of the oven.


Mmmm...... ENJOY!


Garlic Cheddar Biscuits - like Red Lobster's

1 3/4 cups flour
1/2 tsp salt
1/2 tsp baking powder
5 TBsp butter, softened
1 cup milk
1 cup shredded cheddar
-----
1/4 cup butter, melted
1/2 tsp garlic powder


Heat oven to 450.

In a bowl, sift together flour, salt & baking powder. Cut in the softened butter until it looks like coarse crumbs. Make a well in the center & fill it with the cheese. Add the milk & stir well to combine.

Drop by heaping tablespoons onto a cookie sheet. Bake 12-15 minutes, until they start to brown.

While biscuits bake, melt remaining butter & stir in garlic powder. Brush mixture over hot biscuits.

Makes 12.


I've added this recipe to
Totally Tasty Tuesday
on Mandy's Recipe Box!


Thursday, March 3, 2011

Chocolate Crescents

This morning I was craving a little something sweet. I looked in the fridge & saw one last can of crescent rolls from my more-than-necessary sized package I bought at Costco a little while back & then I had my Ah-Ha! Looked in the cupboard & confirmed that I had a package of mini chocolate chips & immediately turned the oven to preheat! LOL The last time I made these little gems was a couple of years ago. We had some friends over for dinner & after the meal I was wanting a dessert but hadn't planned one because we were trying to be good! (P'shaw - like THAT ever works! LOL). Anyway earlier that day at the store I had bought a bag of cinnamon chips & saw a recipe on the bag for Cinnamon Crescents, so I went right to work & 15 minutes later we were enjoying the dessert we didn't have the willpower to avoid. They were really, really good! I figured anything that is good with cinnamon is GREAT with chocolate, right? Surely you all agree! LOL So I made these today - I hope you enjoy! I know we did!


The ingredients don't get any easier than this!


Crescent rolls & chocolate chips (I prefer mini chips for stuff like this).


Unroll your dough into the little triangles & put 2-3 teaspoons of chips at the end. Resist the urge to heap your spoonfuls - you don't want too much in there. Yes, there is such a thing as too much chocolate! I've been there! LOL


Roll them up, sealing the edges to make sure your ships stay put.


Stick 'em on a baking sheet & pop them into the oven - according to the directions on your rolls. Mine were 10 minutes at 375.


Once they come out you can just dig in or, if you have enough self control you can melt some of your chips & drizzle it back & forth across the tops.


SOOOOO good! These are best warm - the dough is still soft & the filling is nice & melty smooth. Don't get me wrong, room-temp is good too, the dough is just stiffer & the chocolate will harden back up!

Go make these!!


Chocolate Crescents:

1 roll of crescent dough
1/2 cup chocolate chips

Unroll the dough into triangles. Place 2-3 teaspoons of chips at the short edge. Roll up, sealing the edges to contain the chips. Bake at 375 for 10 minutes. Drizzle tops with additional melted chips. Serve warm.

Sunday, February 6, 2011

Cinnamon Bread

Ready for some reality? I am full of flaws! I might show you good picture of great food that always seems to turn out right with little effort, but sometimes it just doesn't happen! I've showed you burned onions, over cooked meat & singed casseroles before - so this should come as no big revelation to you if you read my blog often!! LOL So what's my latest screw up? Yeast. I know that it's a fickle little thing and generally speaking I can get it to cooperate fairly well. But this recipe just kept throwing punches my way. First, I had my milk too hot & it killed the yeast. But I didn't know it until after 2 hours of rising, my dough ball was just as flat as when I'd put it in the bowl. So I tried it again today - and I over compensated & let my milk cool too much! So, to make up for that I kept it really, really warm as it was rising to encourage the yeast to wake up & do its magic. Well - apparently I kept it too warm & it made sure to throw a few extra punches. Curse you, yeast. Oh well - it's not pretty, but it sure was amazingly delicious! Hopefully you pay attention a little better than I do so your cinnamon bread can be both visually & tastefully pleasing!

Ingredients:


Pretty basic stuff - Butter, milk, eggs, sugar, salt, flour, yeast & cinnamon.

Heat up your milk & butter in a small sauce pan, over medium heat. Don't let it boil - just melt the butter down.


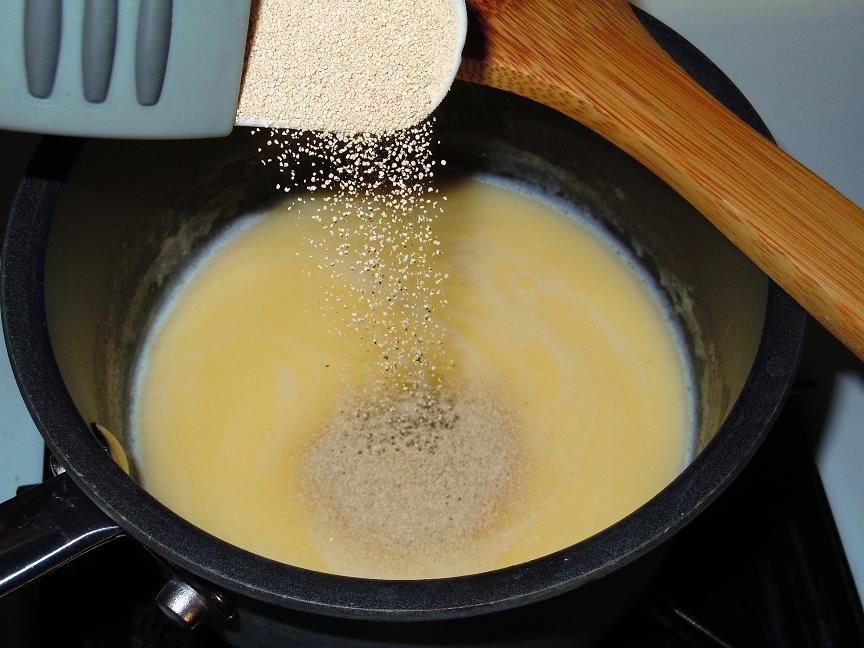
LET IT COOL DOWN A BIT! You don't want to kill your yeast in the hot milk *ahem*. You need it to be very warm - just not hot. Add your yeast & gently stir it just a bit.

Let that sit for about 10 minutes.


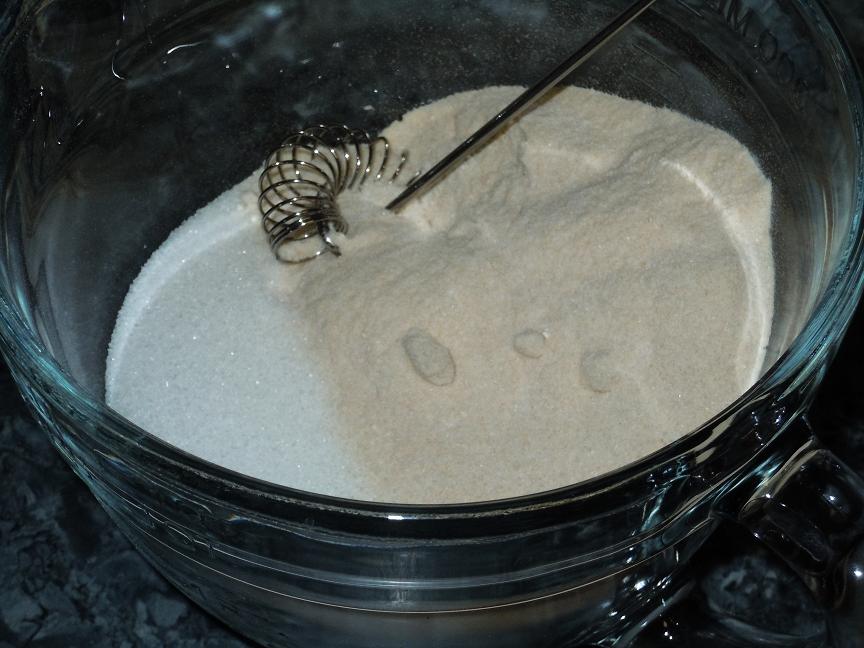
When your 10 minutes is just about up mix your eggs & sugar. If you have it in you to actually plan ahead (hahaha.... ya right!) it's best to pull your eggs out of the fridge about an hour before you make this - you don't want the cold eggs to stall the yeast. If you don't think of it don't worry - just beat this mixture up before you do the milk/butter/yeast stuff & let it sit & it'll be OK by the time you're ready for it.


Pour in your milk mixture & blend it well.


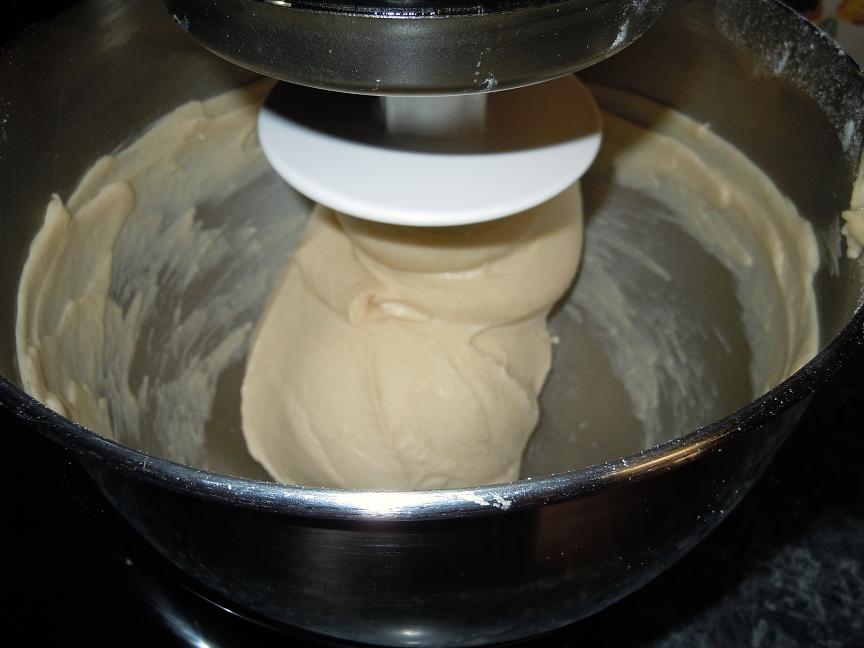
Now toss in your salt & about half the flour. Blend it up. Add the rest of the flour & give it another whirl. Now switch out your paddle for the dough hook because you're trusty Kitchen Aid is gonna beat up your dough for about 10 minutes.


Go on about a 4-speed for about 10 minutes. WATCH YOUR MIXER! Dough flinging around in a bowl can make your mixer 'walk' on the counter & I'd hate for it to walk right off your counter & crash down to the unforgiving floor!!


Get a metal or glass bowl nice & warm - I just flip it upside down & run some hot tap water over it for a minute. Drizzle a bit of oil in the bowl & add your dough - flip it around to coat it in the oil. It's gonna be a little sticky - it's OK! Now cover it with plastic wrap & put it in your favorite bread-rising spot. For me it's usually in the microwave (which is above our oven) and then I turn the light on - the one on the underside of the microwave that sines down to the stove top. Keeps it perfectly warm in there.

What's that? You noticed that I said *usually*!? Oh ya - here comes one of those yeasty jabs. Fearing that I hadn't left my milk warm enough I turned my oven to the lowest setting for about 2 minutes, then turned it off & put my bowl in there. What should have been 2 hours of rising was done in just 1 hour.


Ummmm.... Ya. It shouldn't have risen quite that much!! LOL


Dump that out onto a lightly floured counter. Flour your pin, too! Remember - it's kind of a sticky dough.


Only roll it as wide as your loaf pan is - but make it maybe 18-24 inches long.


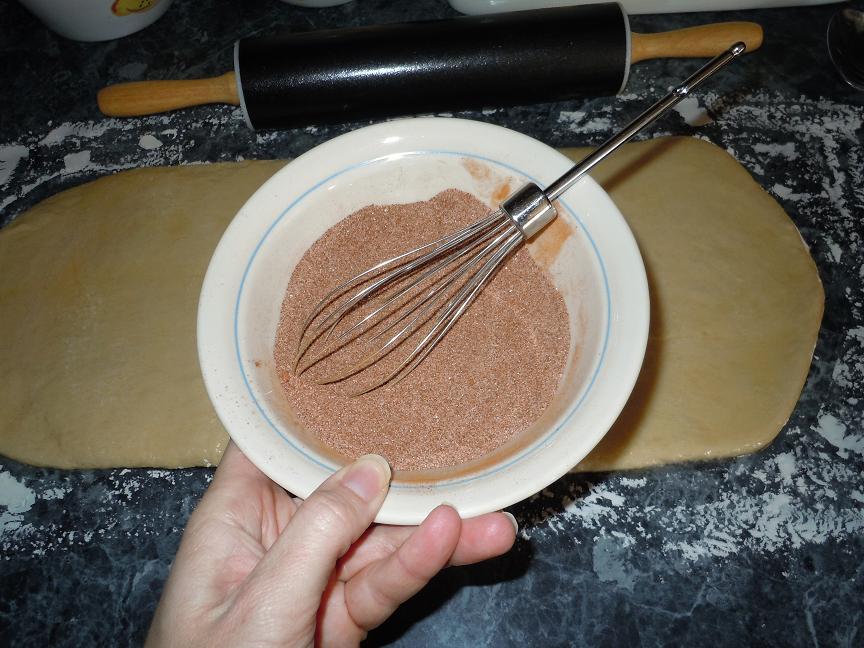
Mix your cinnamon & sugar in a bowl - whisks make great sifters!


Smear the dough with melted butter then sprinkle evenly with the sugar/cinnamon mixture.


Roll it up - don't go too loose!Keep it kinda snug.
Put it in a greased loaf pan.

... and rise again. Here we go with another slap by the yeast. Again, this should have been a 2-hour rise but I checked on if after about 45 minutes ...


HOLY MOLY!!! Yikes! It's A-L-I-V-E!!!!


This is NOT right! Don't let it get this big!

Once you've risen to a more responsible height, brush the top with an egg/milk wash. Pop it into a 350 oven for 40 minutes.

And then get mad at the darn yeast again.

Seriously? SERIOUSLY!!!?? Jeez, Yeast. Cut me some slack!


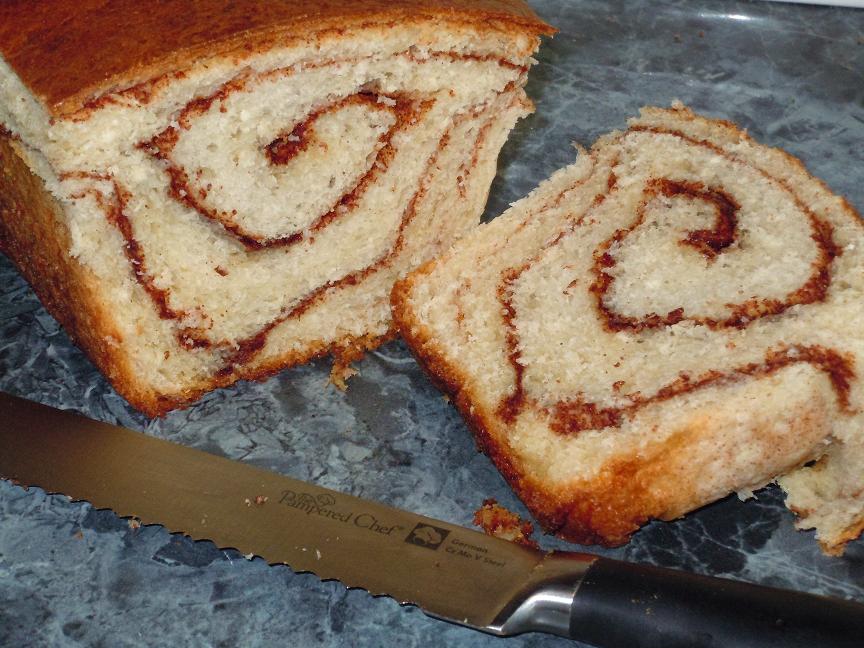
Well, thank goodness I have great knives. I was able to do some minor surgery & resuscitate my poor loaf.


And, honestly... it's ugly but it is still pretty awesome!


Ahhhh.... Hello beautiful! I knew I'd find you eventually!


Cinnamon Bread:

1 cup Milk
6 Tablespoons Butter
2 1/2 teaspoons Active Dry Yeast
2 whole Eggs
1/3 cups Sugar
3 1/2 cups All-purpose Flour
1 teaspoon Salt
1/3 cups Sugar
2 Tablespoons Cinnamon
Egg And Milk, Mixed Together, For Brushing
Softened Butter, For Smearing And Greasing

Melt butter with milk. Heat until very warm, but don’t boil. Allow to cool until still warm to the touch, but not hot. Sprinkle yeast over the top, stir gently, and allow to sit for 10 minutes.

Combine flour and salt.

In the bowl of an electric mixer, mix sugar and eggs with the paddle attachment until combined. Pour in milk/butter/yeast mixture and stir to combine. Add half the flour and beat on medium speed until combined. Add the other half and beat until combined.

Switch to the dough hook attachment and beat/knead dough on medium speed for ten minutes. If dough is overly sticky, add 1/4 cup flour and beat again for 5 minutes.

Heat a metal or glass mixing bowl so it’s warm. Drizzle in a little canola oil, then toss the dough in the oil to coat. Cover bowl in plastic wrap and set it in a warm, hospitable place for at least 2 hours.

Turn dough out onto the work surface. Roll into a neat rectangle no wider than the loaf pan you’re going to use, and about 18 to 24 inches long. Smear with 2 tablespoons melted butter. Mix sugar and cinnamon together, then sprinkle evenly over the butter-smeared dough. Starting at the far end, roll dough toward you, keeping it tight and contained. Pinch seam to seal.

Smear loaf pan with softened butter. Place dough, seam down, in the pan. Cover with plastic wrap and allow to rise for 2 hours.

Preheat oven to 350 degrees.

Mix a little egg with milk, and smear over the top. Bake for 40 minutes on a middle/lower rack in the oven.

Remove from the pan and allow bread to cool. Slice and serve, or make cinnamon toast or French toast with it.

Source: Ree at The Pioneer Woman

Counter

My Top 5 - According to Your Clicks!